Metal Arts Guild | October 3, 2025
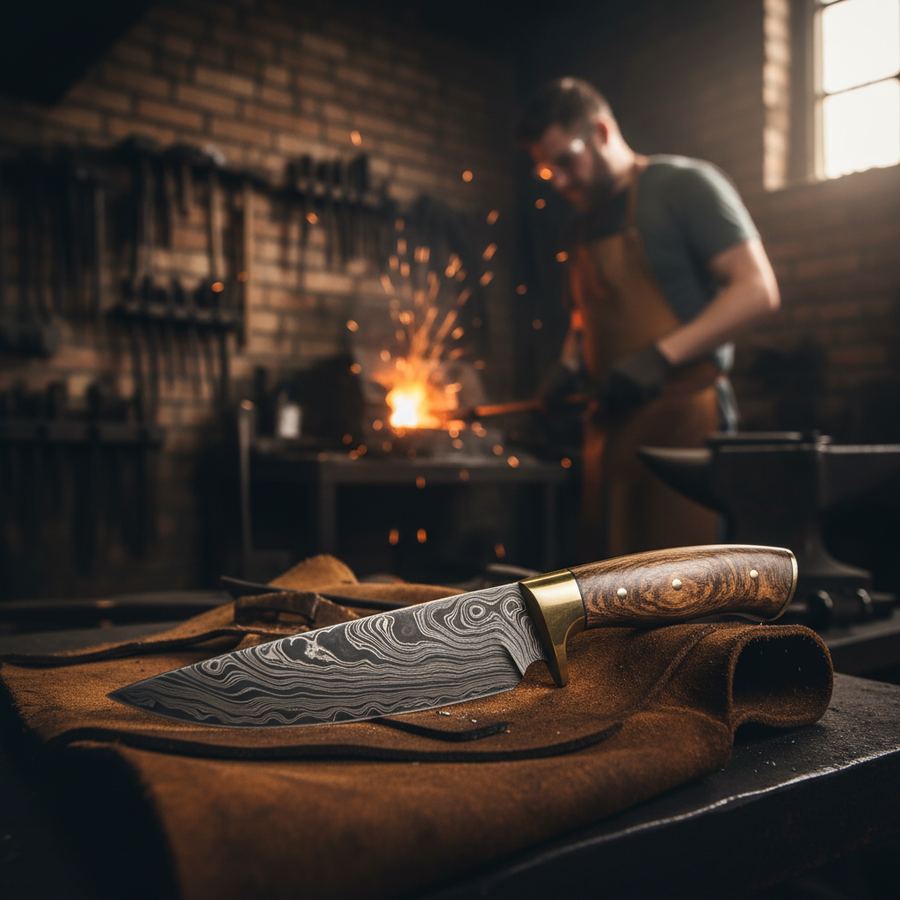
A hand-forged kitchen knife is one of the most satisfying objects a metalworker can make. It is functional, beautiful, and deeply personal. Every decision the maker takes, from the choice of steel to the shape of the handle, affects how the knife feels in the hand and performs on the cutting board. Unlike factory knives stamped from sheet steel, a forged blade carries the direct imprint of the person who made it. Here is how that process unfolds, from raw bar stock to finished tool.
Choosing the Steel
Everything begins with material selection. Kitchen knives demand steel that can take a keen edge, hold it through sustained use, and resist corrosion well enough to tolerate contact with food and moisture. Most hand-forging bladesmiths in Canada work with high-carbon steels like 1084, 1095, or W2. These are relatively straightforward to heat treat and forge, and they produce excellent cutting edges. Some makers prefer tool steels like O1 or 80CrV2 for their added toughness and wear resistance.
Damascus steel, made by forge-welding alternating layers of different steels and then etching to reveal the pattern, is another popular choice. It adds visual drama to the finished blade, but the process is significantly more labour-intensive. A maker working in damascus must account for the welding, folding, and drawing of the billet before the actual knife shaping even begins. For a first knife, most workshop instructors recommend starting with a monosteel like 1084 to learn the fundamentals before tackling multi-layer work.
Forging the Blade
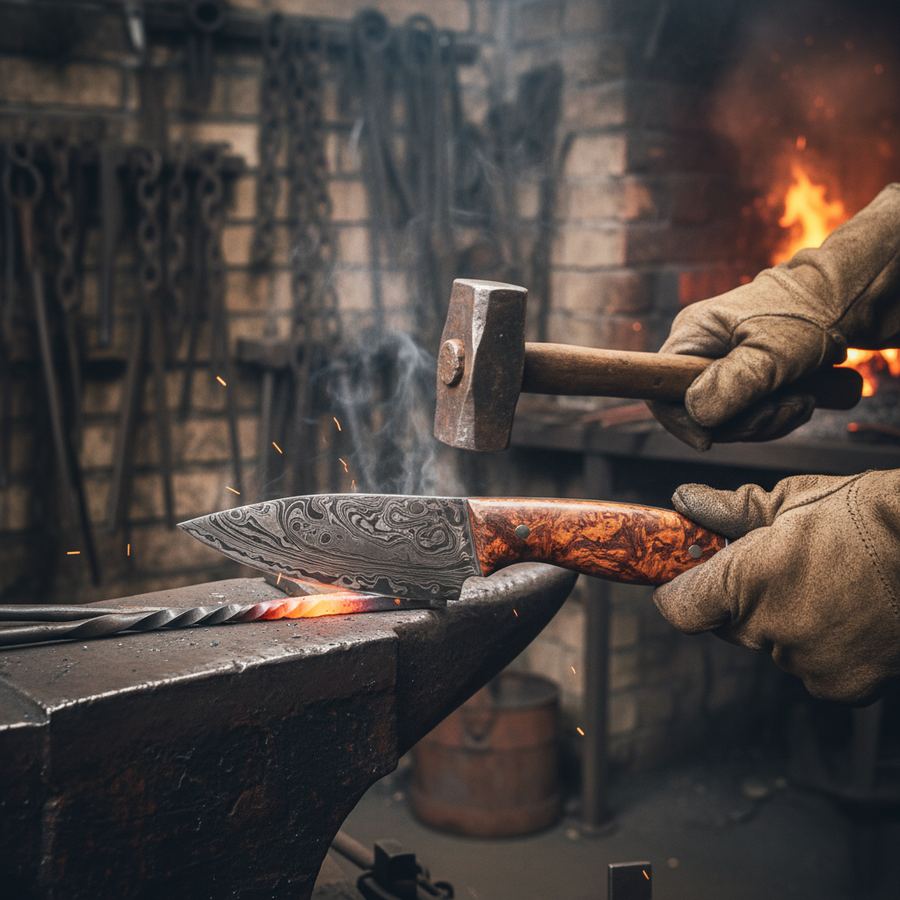
With the steel selected, the smith heats a bar or billet in the forge until it reaches a bright orange to yellow heat, typically around 1000 to 1100 degrees Celsius. At this temperature, the steel becomes plastic enough to move under the hammer without cracking. The first forging steps establish the rough profile of the blade: drawing out the length, tapering the tang (the portion that will sit inside the handle), and beginning to define the transition between blade and tang, known as the shoulder or ricasso.
Shaping happens through a series of heats. The steel can only be worked for a brief window before it cools below forging temperature and must return to the fire. A simple kitchen knife might require ten to twenty heats; a more complex profile with distal taper and a carefully shaped tip may take considerably more. Throughout, the smith checks alignment, straightness, and symmetry, correcting any drift with light hammer blows.
Once the rough shape is established, many makers refine the bevels at the anvil. Forging in the primary bevel, rather than grinding it entirely, reduces material waste and can produce a blade with better grain flow. The steel molecules, stretched and compressed by the hammer, align along the blade's geometry in ways that pure grinding cannot achieve. This is one of the genuine advantages of forging over stock removal, though the practical difference in a kitchen knife is subtle.
Normalizing and Annealing
After forging, the steel's internal structure is stressed and uneven. Normalizing, which involves heating the blade to just above its critical temperature and then letting it air cool, helps refine the grain structure and relieve those stresses. Most smiths normalize two or three times, using progressively lower temperatures with each cycle. After normalizing, an annealing step, a slow controlled cool in an insulating medium like vermiculite, softens the blade enough for comfortable grinding and filing.
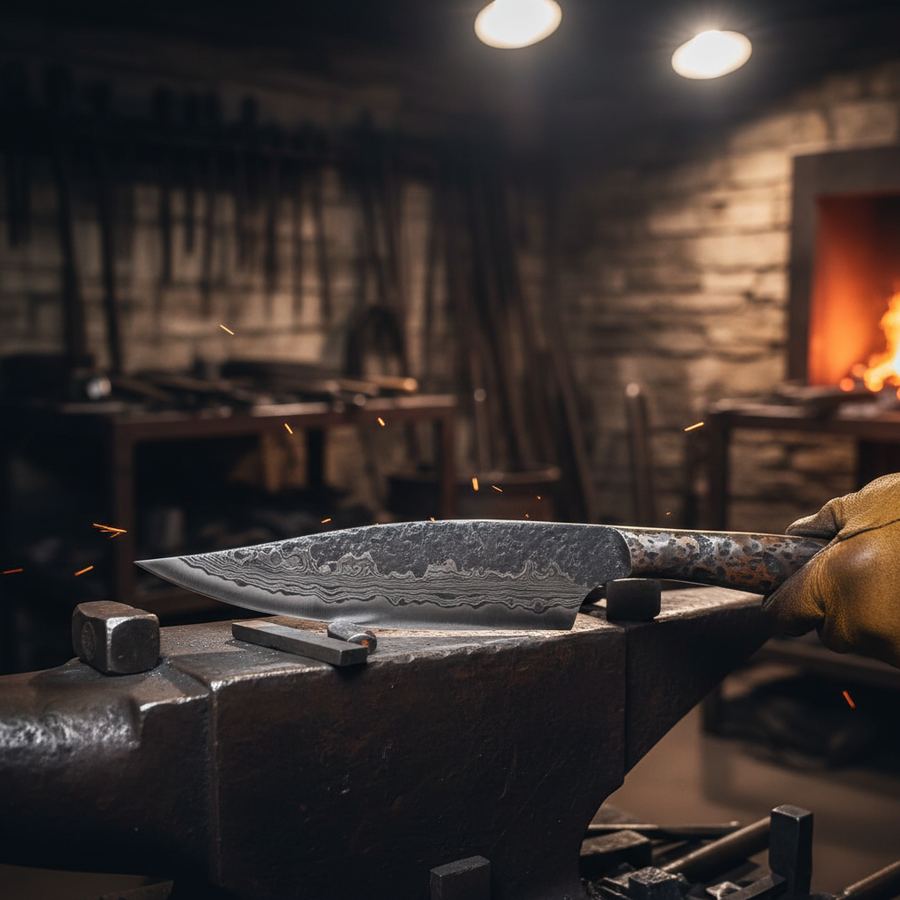
Grinding and Profiling
With the blade soft and normalized, the maker moves to the grinder. A belt grinder fitted with ceramic or zirconia belts is the standard tool for this stage. The blade's profile is cleaned up, the tang is shaped to fit the chosen handle design, and the bevels are ground to their final geometry. This is where the knife's cutting performance is largely determined. A thin, acute grind will slice effortlessly through produce but may chip on harder foods. A slightly more obtuse angle trades some slicing ease for durability.
Hand filing and draw filing still play a role for many makers, particularly around the ricasso, spine, and any decorative details. There is a meditative quality to filing that many bladesmiths enjoy, and it produces surfaces with a character distinct from belt-ground finishes. The plunge line, where the bevel meets the flat of the blade above the edge, is a detail that separates careful work from hurried production. A clean, crisp plunge line is a mark of a maker who cares about precision.
Heat Treating
Heat treatment is the most critical step in the entire process. It transforms the blade from a soft, workable piece of steel into a hardened cutting tool. The process has two phases: hardening and tempering. To harden, the smith heats the blade evenly to its critical temperature, then quenches it rapidly in oil or water, depending on the steel. This produces a very hard but brittle structure called martensite.
Immediately after quenching, the blade is tempered by reheating to a much lower temperature, typically between 175 and 220 degrees Celsius for kitchen knives. Tempering reduces the brittleness while retaining most of the hardness, finding the balance point where the blade is hard enough to hold an edge but tough enough to flex without snapping. Most makers temper twice, allowing the blade to cool fully between cycles. The target hardness for a kitchen knife usually falls between 60 and 63 on the Rockwell C scale.
Handle and Assembly
A knife is only as good as its handle. The most beautiful blade in the world is useless if the handle is uncomfortable, poorly balanced, or prone to loosening. Canadian makers draw on a wide range of handle materials: stabilized local hardwoods like maple burl and black walnut, Micarta, G10 composite, and occasionally antler or bone. The handle style, whether a Western-style full tang with scales pinned on either side or a Japanese-inspired hidden tang with a round or octagonal wa handle, affects balance, weight, and the overall feel of the knife.
Fitting the handle requires careful shaping, drilling, and epoxying. Pins or rivets secure the handle scales to a full-tang blade. For hidden tang designs, the tang is set into a drilled cavity in a single block of wood or composite. In either case, the maker sands and finishes the handle to a smooth, comfortable surface. Some use oil finishes that can be refreshed over time; others prefer hard-wearing finishes like tung oil or cyanoacrylate that require less maintenance.
Sharpening and Final Inspection
The final step is sharpening. Using progressively finer stones, from coarse to fine, the maker establishes the cutting edge. Many Canadian bladesmiths finish on natural Japanese water stones, which produce a refined, toothy edge ideal for kitchen work. The blade is then inspected for straightness, handle fit, and overall balance. A good kitchen knife should feel alive in the hand, responsive and eager to cut, with a sense of balance that makes extended use comfortable rather than fatiguing.
From start to finish, a hand-forged kitchen knife represents twenty to forty hours of skilled labour. That investment shows in the performance. A well-made handmade knife, properly maintained, will last generations. It is one of the most direct expressions of the blacksmith's art and a daily reminder that handcraft still has a place in the modern kitchen.